Wednesday, February 5, 2014

fresh pork spring rolls

It's the middle of Winter and I've already worn my chili and root vegetable cravings out from the start of Fall. Whereas most American comfort foods involve the same things... cumin, cream, paprika, garlic, onion.. (not that there is anything wrong with that) my taste buds are ready for Spring and Summer foods.

Several years ago my Vietnamese sister-in-law taught my family how to make fresh spring rolls, and they've been a regular on our table ever since. The beauty of spring rolls is that you can fill them with almost anything you like. Shrimp, tofu, chicken, avocado, but the original recipe she taught us called for boiled pork... which doesn't sound appetizing to most people, but for a dish served cold, I think it's the best way to go.
Most people are able to go on and on about the foods they love, but honestly there's nothing much to say about spring rolls. It sounds unusual, but they speak for themselves, what else more could you say? Crisp julienned veggies rolled up with rice noodles and protein. If you'd like to fry them, soak the rice paper wrapper in beer then roll and fry off in hot oil. Beer as always, the perfect beverage and a great frying component.

So, on with you, my dear readers! A bite of springtime is just about 20 minutes away! (Unless you live in Minnesota, then it's about 20 weeks away.)

Fresh Pork Spring Rolls
Serves 6
  • 1 lb. thin-cut boneless pork loin
  • 2-3 large carrots, peeled and cut into matchstick sized pieces
  • 1 cucumber, peeled and seeded, cut into matchsticks
  • a few green lettuce leaves, chopped (try not to use iceberg)
  • 2 oz. rice vermicelli (I like the kind in the pink fishnet bags, you can get them in most ethnic sections of grocery stores, 2 oz. is about "two sections")
  • rice paper wrappers
  • cilantro (opt.)
  • sweet chili sauce or peanut sauce for dipping
 Set a large saucepan with water to boil, once boiling, carefully add the pork slices into the water. Let boil for about 8-10 minutes, until the meat looks no longer pink. Take pork out and let cool on a separate plate. While the pork cools, cut up the carrots, cucumber, and lettuce leaves. Once cool, thinly slice the pork.

Boil another pot of water and let the rice vermicelli cook about 5 minutes, until noodles are translucent. Drain and rinse with cold water.

Set up a wrapping station, prepare a large bowl of warm water, large enough to submerge the rice paper wrappers in without them breaking. There is no 100% right way to do this, but this way works for me the best!

1. Submerge the rice paper wrapper for several seconds in the warm water and lay onto a large plate. You're going to have to get good timing so the rice paper is malleable enough to shape and roll, but not already thin and fragile!
2. Stretch out about 1/8 c. clump of cooked rice vermicelli close to the base of the paper, giving it about 1-2 inches of space from the edges. Add a few slices of cooked pork, carrots, cucumbers, and a couple cilantro leaves if desired.
3. Roll! Carefully fold the bottom half over the ingredients, and squeeze it snug at the base to keep the filling tight and compact. Roll it about halfway, and then fold the right and left wings of the wrapper in towards the center. Finish the roll and keep compressing as you go to ensure everything is wrapped tightly. This might take a few tries at first, but trust me, you'll get better!
Note: If you've ever worked at a sandwich shop, butcher, made a burrito, or worked in some sort of restaurant... it's that method.

4. Serve with sweet chili or peanut sauce and enjoy!

Monday, January 27, 2014

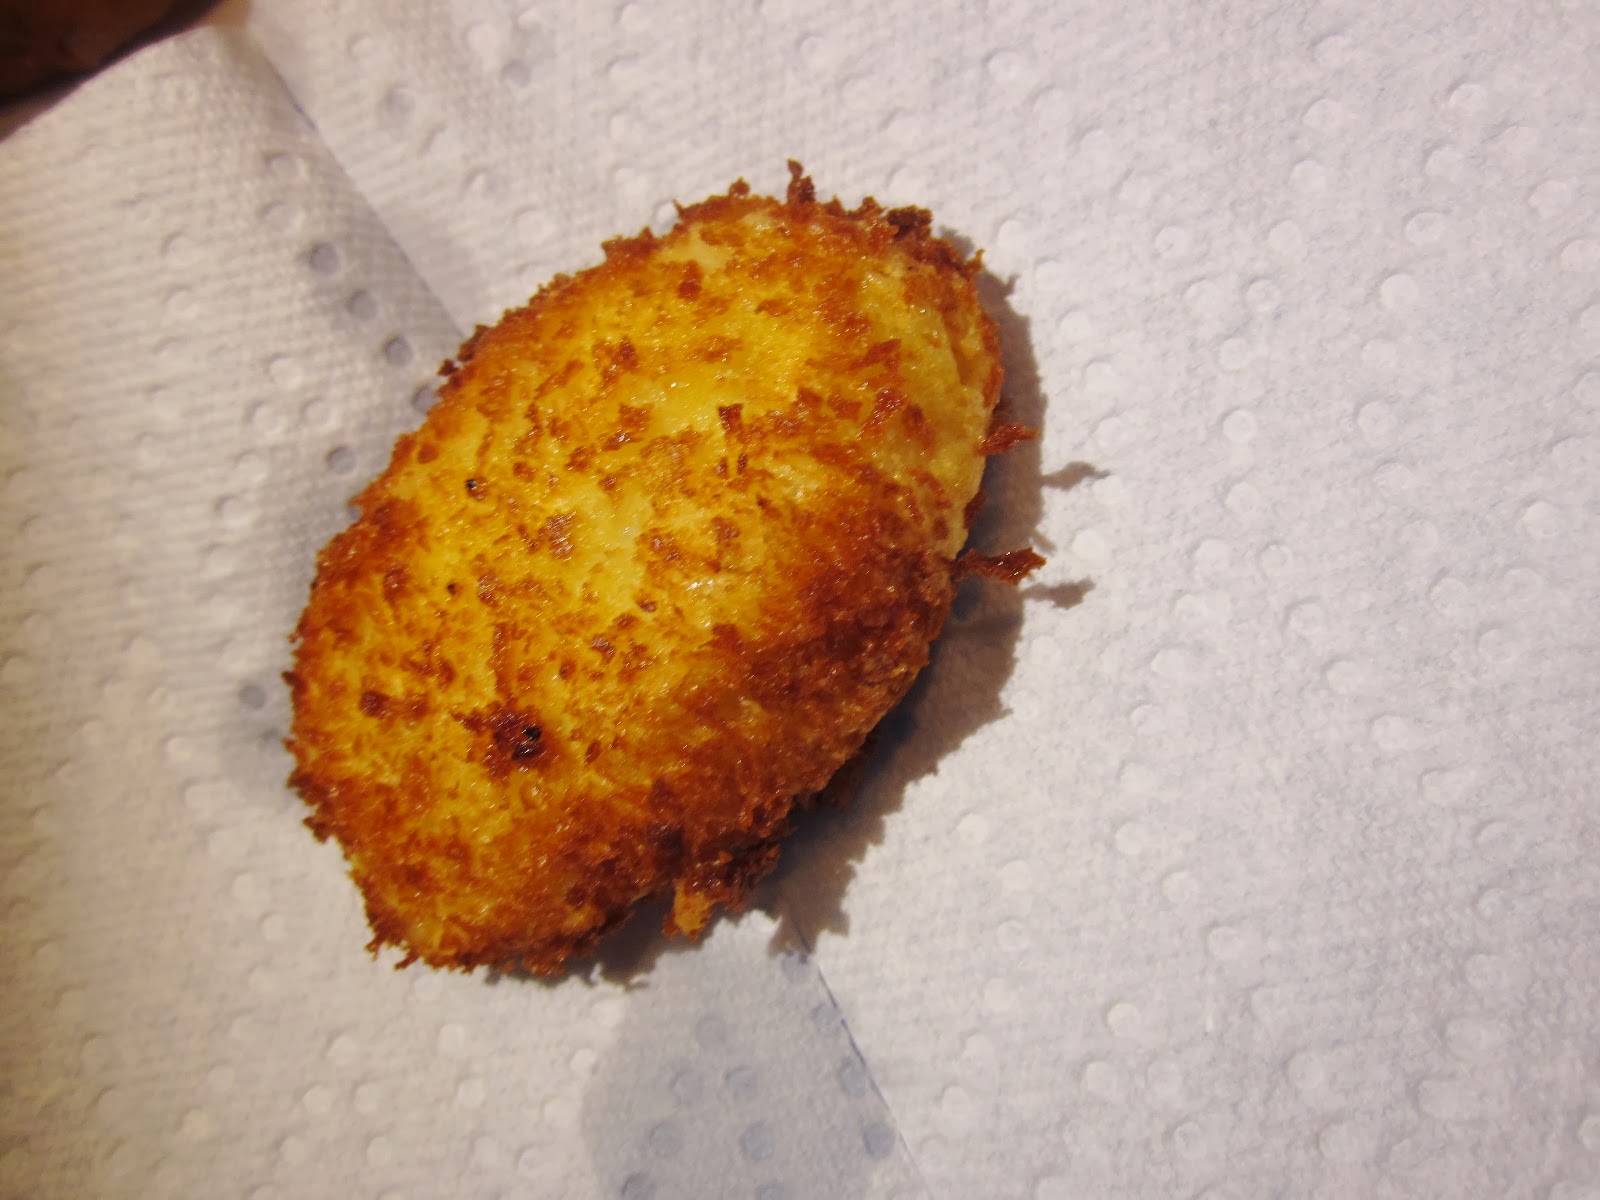
korokke コロッケ (croquettes)

I love potatoes of all kinds, mashed, fried, baked, boiled... it's a perfect Winter food. After scavenging through my cupboards today, I realized that I had some potatoes that needed to be used up before they went bad... and also a small bit left of panko bread crumbs.

I knew I had to make Japanese croquettes.

Croquettes are eaten all around the world, and they vary from country to country, but they mostly all share the same main ingredient: potatoes. A distinguishable character of the Japanese croquette is the use of panko breadcrumbs. Regular breadcrumbs? They're good. They'll do. But panko breadcrumbs? Light, crispy, and for some reason I always found more aesthetically pleasing.

Again, this snack takes me back to the days of snacking from the street vendors in Korea and Japan. I'd miss Western food sometimes, a lot of the time it was potatoes. I'd dream about crispy fried hash browns, french fries, mashed potatoes and gravy... but once I found the croquette, to me, it was the lovechild of hash browns and mashed potatoes. Smooth mashed potato with minced onion, and simple seasonings of salt and pepper. Sometimes just like that or sometimes filled with ground meat. Always enveloped in a crispy golden panko breaded crust.

Even though I've never had anything like it growing up in the States, it really reminded me of home.
For this recipe, I decided to also use sweet potato as well, I had never made a sweet potato croquette before, but I decided to give it a shot. The mash is a bit stickier than regular potatoes, but it'll work, oh how it will work.

My condiment of choice for dipping? Sriracha or curry ketchup.

Japanese Croquettes (korokke コロッケ)
Serves 4 (or 1, if you're like me.)
  • 1 lb. potatoes
  • 1/2 medium onion, minced
  • 1/2 c. panko breadcrumbs
  • 1-2 eggs, beaten
  • 1/4 c. flour
  • salt and pepper
  • vegetable or canola oil, for frying

    Set a pot of water on the stove on high heat. When boiling, add potatoes and let cook until soft. Once soft, drain water and place in a medium-sized bowl to cool. In a separate skillet, add 1 tsp. oil and set to medium. Add minced onions,a pinch of salt and pepper and saute till soft and slightly caramelized. About 8 mins.

    Add cooked onions with cooked potatoes and mash until light and fluffy. Let sit about 10-15 minutes until the potatoes are cool enough to handle with your hands. Shape potato mixture into 8 small oval-shaped disks. Refrigerate one hour.

    Add enough oil to a pot for croquettes to be submerged and float while frying. (I love using a wok for this) Heat oil on high.

    Set out your flour, beaten eggs and panko breadcrumbs next to each other. Take the potato disks from the fridge. One at a time (if you're weary with your frying skills like I am) roll first in the flour (gently shake off the excess flour), coat with the egg batter, and pat into the panko to coat the disk.

    CAREFULLY, slip the croquette into the fryer and let it fry on each side until golden brown. This only takes several seconds, so make sure NEVER to leave it unattended! Turn down heat to medium-high. Repeat with the rest of the batch, let drain on a wire rack or paper towels. Serve immediately. Have leftovers? Save them in the fridge, let bake for a few minutes or another quick deep fry.

Monday, January 13, 2014

thai curry butternut squash soup

 
I've been feeling under the weather the past two days, and after laying around the apartment all day with nothing to do and a ever so picky stomach, I needed something to do (that didn't require leaving my cave) and something to eat.

This morning I was incredibly hungry, so I thought, "It's regular food time now?" and proceeded to make what I usually have for breakfasts on my day off... sunny-side up eggs, bacon and hash browns. This did not go well a couple hours later, so later in the afternoon the hunger kicked in and I ended up eating leftover Chinese take-out food, chicken soup from a can and half a package of crackers. Strike two.
While not being ashamed that I still love condensed soup from a can, sadly I had to agree that it was not something that my stomach needed. I ended up passing the next several hours slumped on the couch watching re-runs of Saturday Night Live and NANA, finally realizing that I wanted to stand up and do something semi-productive and perhaps coax my still hungry, angry belly.
I ended up rummaging through my cupboards and found the godsend ingredients that I knew would be great for a blended soup: butternut squashes, coconut milk and Thai curry paste. I was even more pleased that I had purchased "light" coconut milk and reduced sodium chicken broth during a "I'm going to eat better this year, I swear" shopping mentality from a few weeks ago.

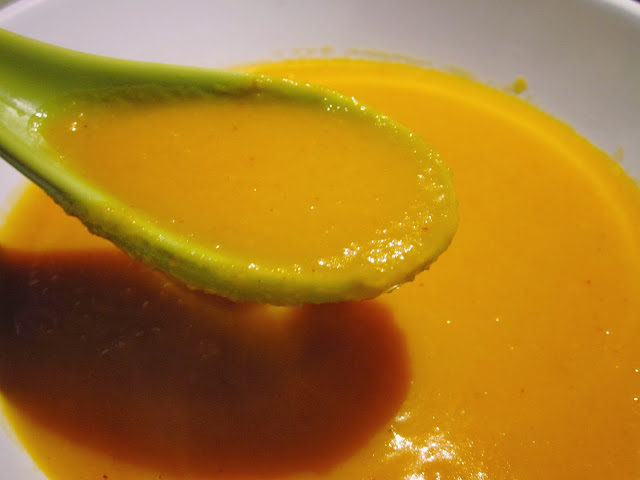
So I ended up killing a bit of time making this "light" Thai curry butternut squash soup, and my efforts had not gone to waste. The natural sweet creaminess of the coconut milk, the sweet, velvety butternut squash, zest of curry paste, and the squeeze of fresh lime is so wonderful and I hate to say it-- doesn't come with the guilt of a butter-cream thickened soup. :)
I'll make my tummy like this soup, even if it kills me... hopefully it doesn't.


Thai Curry Butternut Squash Soup
Serves eight.
  • 2 medium-sized butternut squashes (about 2.5 lbs worth)
  • 1 c. chopped onion
  • 3 c. low-sodium chicken or vegetable broth
  • 4 tsp. red curry paste
  • 1 -13.5oz can light coconut milk
  • 3 tbsp. olive oil (divided into 2 and 1 tbsp)
  • 1 tsp. salt (divided)
  • fresh lime wedges
Preheat oven to 450 F degrees.
Peel, seed and cut butternut squashes into 2 inch cubes. Place squash cubes in a baking dish and drizzle 2 tbsp olive oil. Sprinkle with 1/2 tsp salt and mix until salt and oil are distributed over the squash. Bake at 450 F for 35 minutes or more until the squash is golden and tender.

Swirl the remaining 1 tbsp of olive oil in a large saucepan over medium and add onion, cook for about 5 minutes, stirring occasionally. Add cooked squash cubes, broth and curry paste with other 1/2 tsp of salt. Bring to a boil, then reduce the heat and let simmer for 15 minutes, stir occasionally.

Turn off heat and stir in coconut milk, and squeeze in the juice of a quarter wedge of lime. CAREFULLY, place half of the squash-soup mixture into a blender or food processor (I used a ladle) and blend until smooth. Pour blended soup into bowls or containers to cool for later refrigeration. Repeat with second batch. Garnish with another squirt of lime juice from a fresh sliced lime wedge.

Friday, January 3, 2014

japanese curry

Japanese curry, simply known as "curry" in Japan, is nothing like but is still delicious compared to the Indian curry most are familiar with. With the serious one-sentence intro aside, it's like a meat and starch party in your mouth. Yes, for this recipe I'll be basically following the recipe on the back of the box, but if at the end of this post you're thinking, "Okay, that's different, and I need to make that." I've done my work.
Curry is one of the most popular dishes in Japan, served in a variety of ways including with udon noodles, rice, slathered on tonkatsu, and even as a bread filling. Sure, you can add almost any vegetable you'd like to it, but the classic version includes meat (beef, chicken or pork), potatoes, onions and carrots. And the best way to do it is buy curry roux in a box which you can find now at most grocery stores. Golden Curry, Vermont Curry and Java Curry are a few of the most popular Japanese curry brands. Personally, I love Vermont brand because it has "a touch of apple and honey" in it. Whether how much or in what form, I don't care, it's delicious.
 
A few key things to note here, I've come to terms that the Japanese don't particularly have as much "spicy food culture" compared to the rest of their neighboring Asian countries. Most of the curries come in Mild, Medium, and HOT. As much as I love spicy food, I enjoy Japanese curry most when it's mild because it's already such a rich food. But Vermont Curry's "Hot" is less spicy than a sprinkle of black pepper. So if you accidentally purchase a hot curry roux, don't fret, at most it may be comparable to a bell pepper.

And also not to mention, it's perfect comfort food now that Hell has frozen over and it's seeping into the States. Itadakimasu!

Japanese Curry
(Serves 12, but you can half/quarter etc. the roux blocks)
  • 1 box Japanese brand curry roux (8.8oz)
  • 2 lbs of beef, chicken or pork cubed into bite size pieces (I like using stew-cut meat for beef)
  • 4 medium potatoes, cubed
  • 3 medium onions, chopped
  • 2-3 medium carrots, peeled and chopped
  • 2 c. Japanese or Korean short grain rice (you can use regular rice too, but short grain sticky is preferred)
  • 1 tbsp oil
  • water
 Add rice into a large pot and wash the rice in cold water and drain 2-3 times. Add 3 cups water to rice to let soak. The usual rice-water ratio is 1:2, so add the same amount of water that you did for the rice, plus half that amount. I actually use the "first knuckle" measurement which works splendidly (shown above) where I fill the water until it reaches the first knuckles on my hand when I place it flat into the pot. Let soak for about one hour (if it is Asian short-grain rice).

While it's soaking, cut up your vegetables and trim the chunks of meat. Start cooking your rice whether it be in a rice cooker or on the stove. Heat a separate large pot on the stove over medium high and add the 1 tbsp of oil. Add vegetables and meat and saute until lightly browned.
**Tip: When cooking with meat, I lightly brown the beef instead of full-cooking it so it remains tender and not overcooked when everything is boiled later.

Add 5 and 3/4 cups of water to the pot of meat and vegetables, cover and boil until the potatoes are tender. When cooked, reduce to medium heat and add the broken up blocks of curry roux. Stir until curry roux has completely melted. Reduce heat to a low simmer and occasionally stir until curry has thickened for about 10-15 minutes.

Once the rice is cooked, serve side to side with the curry. Mix it up, and dig in! Oh and don't forget, to get all the curry-sauce goodness, use a spoon!

Saturday, December 28, 2013

easy cabbage kimchi

What a great way to end the holidays than with a fresh, beautiful batch of kimchi. Kimchi is the name for the numerous types of pickled side dishes accompanying Korean meals, cabbage kimchi is the most popular and well-known.
Being born of Korean descent and studying abroad in Korea for a year, I couldn't pull myself away from this spicy, briny culinary pickled delight. When I came back home to the United States, it was the one thing I craved the most. I went to several different grocery stores and tried several different kinds of kimchi, and none of them matched up to the kind I had in Korea. All the kimchi I saw sold in stores here looked pale, sickly, and a little tragic. It was never spicy or flavorful enough compared to the taste I knew and craved.


This recipe is from Maangchi, a Korean(and more!) food recipe blog that I stumbled upon. After filing through numerous kimchi recipes from all over the internet, this is the one I found and loved. Making cabbage kimchi takes time, but I didn't want to spend 20 mins on making a super-quick batch but I didn't have the time to rub down whole cabbages and find storage in my already cramped fridge to sit and ferment. For this batch, I do not add the salty squid or oysters from the original recipe. It's personal preference, but I just enjoy the vegetables. And seafood is expensive.
If you're a Minneapolis-metro native, United Noodles is a godsend for those that seek out those hard-to-find Asian ingredients that you can't even find at your local grocery store or even "worldly co-op that has everything." Over 20 varieties of rice stick noodles? Yes. A dozen different kinds of Korean pepper and soybean paste? YES. Those little fishcakes with the pink swirls in the middle that every kid drooled over watching their favorite Saturday morning dubbed anime? YES YES YES! My advice is, google Asian grocery stores and hunt them down, I swear they will be your new favorite go-to shop.

So if you've got a lazy Sunday, a dozen empty mason jars, this might be the recipe for you.
P.S. These photos will look different from other photos because they were done (reluctantly) within my parents' home in the past. They weren't too happy with the mess. I also used a food processor that was way too small and ground ginger. Ground ginger substitution is okay. A two-cup food processor is NOT.

Maangchi's Easy Cabbage Kimchi


  • 2-3 medium/large heads of Napa cabbage (I strongly advise to find Napa Cabbage, the leaves and stems are perfectly crunchy and absorb the paste beautifully. You can even find it at most grocery stores now!)
  • 1/2 c. sweet rice flour (you can find this at some Asian grocery stores, fairly inexpensive. Regular flour can be used as a substitute as well.)
  • 1/4 c. sugar
  • 3/4 c. salt
  • 1 c. fish sauce (soy sauce can be used as a substitute, or to make this vegan-friendly.)
  • 2 1/2 c. Korean red pepper flakes (use less or more depending on your tastes)
  • 1 c. crushed garlic
  • 1-2 tbsp. peeled and minced ginger
  • 1 c. chopped onion
  • 5-10 diagonally sliced green onions
  • 1-2 chopped leeks
  • 4 large julienned carrots
  • 1 large or 2 medium julienned Daikon radish (you can find this at most grocery stores now too, just don't use plain red radishes!)
Peel and discard the outer leaves of the Napa cabbage that are discolored or wilting. Cut the cabbage lengthwise and remove the cores from the bottom. Chop into bite-size pieces.
Fill a large bowl (or two) with cold water and soak the cabbage pieces. Sprinkle salt (divide salt between if using two bowls). Every 30 minutes, mix up cabbage in bowl to salt evenly for 1 1/2 hours. Afterwards, rinse cabbage in cold water three times to clean it thoroughly. Drain cabbage and set aside.

To make the base of the spicy pepper paste for the kimchi, put 3 cups of water and the 1/2 c. sweet rice flour in a pot, whisk and bring to a boil. Stir continuously till bubbly. Add the 1/4 c. sugar, stir and cook for a few more minutes until it is translucent. Let cool.

**Tip, if you are not a pro chopper, it's really helpful to julienne your vegetables with a mandolin or a food processor on "grate" mode. The grate mode makes it a little more like slaw, but it really cuts down on the tedious tiresome work.

Break out the food processor and add fish sauce, red pepper flakes, garlic, ginger and onion. Blend then puree with the sweet rice paste. Add spicy red pepper paste mixture along with vegetables and cabbage. Mix well to coat each vegetable. I love mixing with my hands, you can use rubber gloves or au naturale. I don't get pepper burns with my bare hands, but just remember to wash your hands well afterwards.

You can eat it immediately or can it in tight-sealed jars. Pack the kimchi tightly and make sure to leave about 2 inches space from the opening. This recipe makes about 5 large quart mason jar sizes. You can definitely half the recipe if needed. For supreme taste experience, let the jars sit at room temperatures for 1-2 days to ferment. Two days is the MAX, I repeat, DO NOT LET REST FOR MORE THAN TWO DAYS. Afterwards, unseal your jar to release the gases built inside. Your kimchi will bubble, smell fermented, and say "Okay, I'm ready to be eaten." You see, magical food science is happening in that jar, and twice I've made the mistake of not unsealing the jar and they burst and made a mess in the kitchen. Just unseal, release the gas, (sometimes the kimchi and liquids expand, so you may want to transfer excess kimchi into another container) and put in the fridge for future enjoyment.

Kimchi 101 recipe? Scramble it with eggs for breakfast. It's like eggs with chunky nutritious pro-biotic Sriracha.